

|
|
| HOME: LESSON 1 |
 Click to Expand |
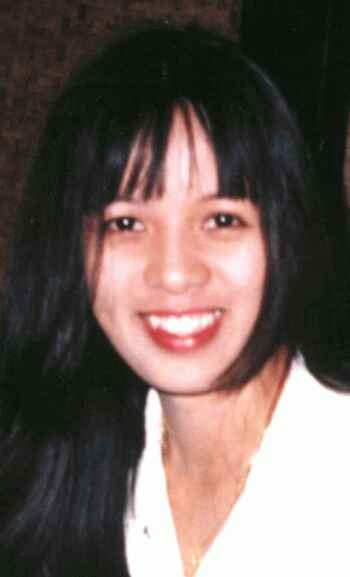
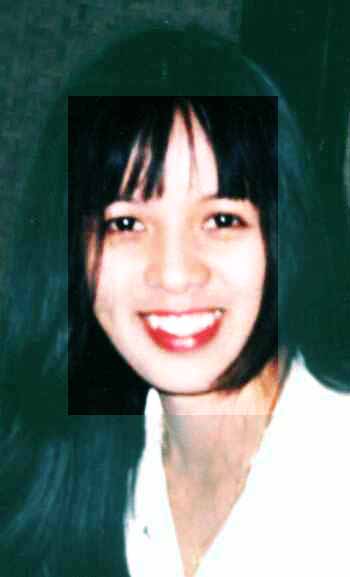
ORIGINAL Size: 10.2 Kb Width: 350 Height: 577 |
 Click to Expand |
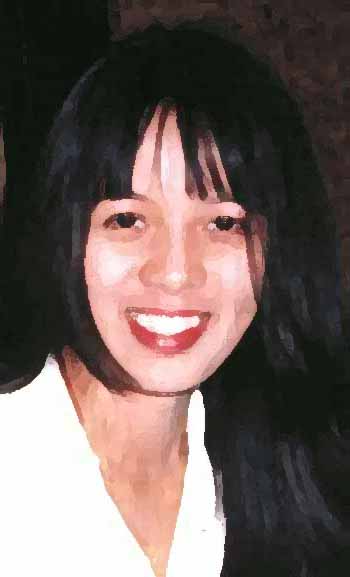
Lesson 1.1: ภาพจะเหมือนวาดด้วยสีน้ำ และกลับด้านซ้ายขวา Filter: Artistic, Dry brush Select: All Edit: Transform, Flip Horizontal Size: 18.6 Kb |
 Click to Expand |
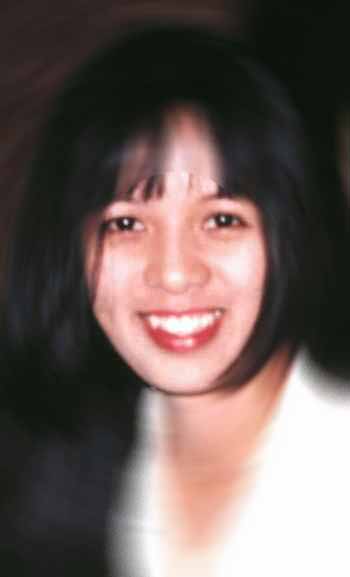
Lesson 1.2: เลือกให้ชัดเจนเฉพาะใบหน้า ส่วนอื่นให้ Blur Tool box: Elliptical Marquee Tool, เลือกเป็นวงลีรอบใบหน้า Select: Inverse Filter: Blur, Radial Blur Size: 14 Kb |
 Click to Expand |
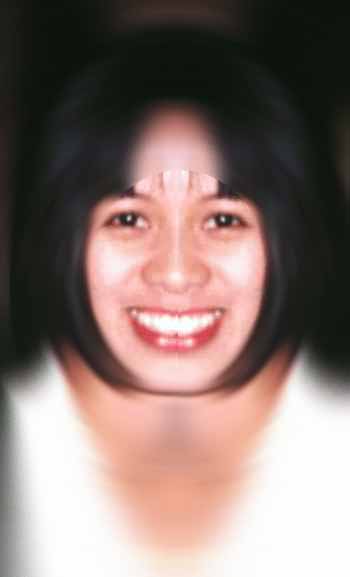
Lesson 1.3: นำหน้าด้านขวามาเป็นหน้าด้านซ้าย จะได้ใบหน้าของคนใหม่ขึ้นมา Tool box: Rectangle Marquee Tool, เลือกครึ่งขวาของหน้า Edit: Copy Edit: Paste จะได้ Layer 1 ขึ้นมา Edit: Transform, Flip Horizontal Tool box: Move tool แล้วใช้ Mouse click ค้างเพื่อย้ายไปด้านซ้าย (ให้ลงตัว) Layer: Flatten image Tool box: Elliptical Marquee Tool, เลือกเป็นวงลีรอบใบหน้า Select: Inverse Filter: Blur, Radial Blur 2 ครั้ง เพื่อลบจุดบกพร่องช่วงลำคอ Size: 14 Kb |
 Click to Expand |
Lesson 1.4: ใบหน้าจะขาวเหมือนโฆษณาทาง TV Tool box: Rectangle Marquee Tool, เลือกเฉพาะส่วนของใบหน้า Edit: Copy Edit: Paste จะได้ Layer 1 ขึ้นมา Layers: Layer 1 เลือก Hard light Layers: เลือก Background Image: Adjust, Color Balance, กำหนดสีเป็น cyan สูงสุด Layer: Flatten image Size: 18 Kb |
| We work for the education. Mobile:0-1992-7223 Work&Home: Lampang province, Thailand 52000 | Burin Rujjanapan webmaster@thaiall.com |